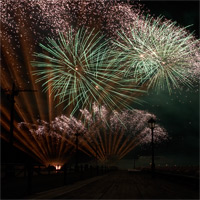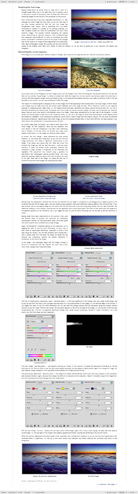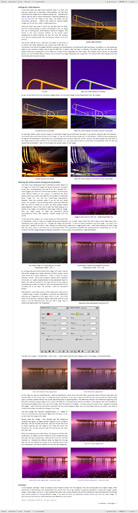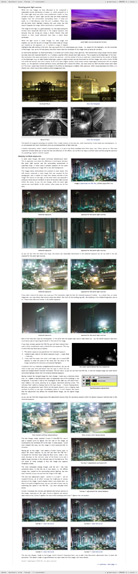
An introduction to the ‘Photoshop for night photography’ tutorialIn many ways the post-production skills you need to process low light or night shots are no different to those you would use for images taken during daylight hours, but there are a number of technical and aesthetic issues that become more salient when processing this type of image. These include: visualising the final image, altering the white balance – either to compensate for sodium light pollution (common in many night shots, particularly in urban environments) or to creatively manipulate an image – shooting ‘point’ light sources, and merging multiple exposures. In addition this tutorial also discusses a range of technical considerations relevant to shooting at night. These include: focussing (a non-trivial task when shooting in the dark), setting ISO, determining the correct exposure, and noise reduction. The specific topics covered include:
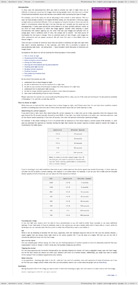
This tutorial contains 6468 words, 81 illustrative images and screen grabs, and has received 16 comments. Photoshop files included with this tutorial
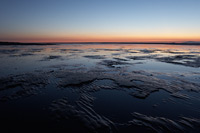
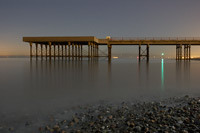
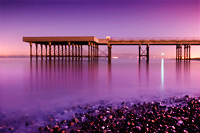
Each of our tutorials is based around a series of Photoshop files, at the resolution originally posted on chromasia, and each contains all the original adjustment layers I used to create the final image. The ones that are included in this tutorial, and a brief description of how each one will be used, are listed below – the ‘before’ version on the left, the ‘after’ version on the right. Each of these files can be downloaded after you subscribe.
What our subscribers have said about this tutorial
Content overview (the rollover graphics and embedded videos are not illustrated)
How to subscribe
Further information
To find out more about our other individual tutorials please click any of the following images. Alternatively, you can visit our main tutorials page for further information on: our annual subscriptions; our forthcoming issues; and our current members’s offer. You can also read through our sample tutorial on Tonal Range and the Curves tool.
David J. Nightingale © 2003–18 • all rights reserved
|
↓ David
↓ Libby
↓ Get the Latest News
software links
 Our annual subscribers and lifetime members can obtain a 15% discount on any of the Topaz Labs Photoshop plugins or plugin bundles.
 Our annual subscribers and lifetime members can obtain a 15% discount on Photomatix Pro.
training partners   Included above are links to a number of our training partners that we unreservedly recommend.
| ||||||||||||||||||||||||||||||||||||||||||||||||||||||||||||||||||||||||||||||||||||||||||||||||||||||||||||||||||||||||||||||||||||||||||||||||||||||||||||||||||||||||||||||||||